
 فارسی
فارسیArticles
pathology
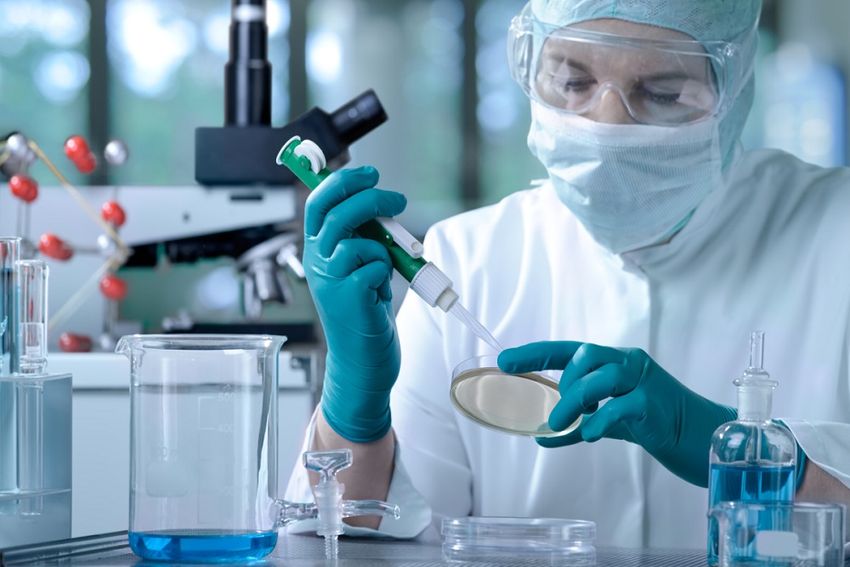
pathology technical methods
Pathology is the science that studies and identifies practical disorders and structural changes in tissues. In general, pathology is the science of studying diseases and as a branch of medical science, it checks the cause of disease and their complications. it is Obvious when a disease occurs, some changes start to occure in different tissues of the body, which in fact, the study of these changes is the basis of pathology. The mechanism that causes disease is called pathogenesis. Pathology is divided into two groups: anatomical and clinical.
Pathalogy studies 4 aspects of a disease:
- Etiology
- Pathogenesis (mechanism of creation)
- Morphology
- Clinical significance
Pathology fields
1-Anatomical pathology :It is the study of structural changes, both microscopic and macroscopic, and lesions of cells in the body, which include the following:
- Autopsy ( sampling of dead tissue)
- Biopsy (sampling of living tissue)
- Cytology
2-Clinical pathology: it Examines the symptoms of the disease in blood, urine, spinal fluid, sputum, vaginal discharge in various laboratories of microbiology, biochemistry, serology and … .
Technical methods of pathology ( Histotechnical )
All stages of work from the beginning of sampling in the pathology laboratory to the preparation of the slide and its examination under a microscope are considered as technical methods of pathology, which includes seven separate stages.
- Tissue sampling
- Fixation
- Dehydration & Impregnation
- Tissue Embedding
- Sectioning with Microtome
- Tissue Staining
- Assembly of sections on the slide
Obviously, Defects in any of these stages can reduce the accuracy of the diagnosis and subsequently create problems in the patient’s treatment process
Tissue embedding
In the following, we will briefly explain each of the steps:
-
Fixation
This step is done only to preserve the physical structure of the tissue and to prevent its autolysis. The surgical sample should be placed in the fixative immediately. the type of texture, process temperature, fixation time and pH of the solutions used, must be considered for this. For example, a fixative fluid should kill the living cell as soon as possible and penetrate the tissue quickly and, if possible, not change the natural structure of the cell and tissue, and also convert some semi-liquid and colloidal materials into Semi-solid materials (gel) with fixation.
In general , the fixative should be chosen in such a way that it does not change the texture of the tissue sample and interfere in staining step. There are several fixatives to do this, but Fromalin 10% is one of the most common fixatives used. The time that sample remains in formalin (formaldehyde) depends on the size and type of the sampl, as every 4 hours 2.7 mm of formalin penetrates into the tissue. But samples are usually kept in formalin for 24 hours. It should be noted that specimens such as bone, teeth, and in general tissues that contain calcareous compounds must be decalcified before fixation so that they can be prepared for later stages.
Declassification
It means removing minerals such as calcium from the bone tissue , which includes the following steps:
- Tissue sampling
- Fixation
- Decalssification
- Neutralizing
- Rinsing with water
The decalssification solution should have the following features:
- It should completely release the calcium from the tissue sample.
- Do not damage the main tissue.
- Do not disturb the tissue staining .
2- Sampling and passing tissue
The sample must be perfectly sized for this stage. If the sample is larger than usual, dehydrating substances such as xylene , alcohol, etc can not penetrate the tissue. if it is too small, it will be difficult to prepare , section and … the sample. the texture characteristics must completely be reported for each sample.
The specifications include: shape , dimensions, thickness, color and etc. In the same way, in order to separate the samples from each other and identify them, the sample number should be written on a piece of paper with the date of sampling with pencil and placed in special containers along the tissue then sample should be prepared for the next steps.
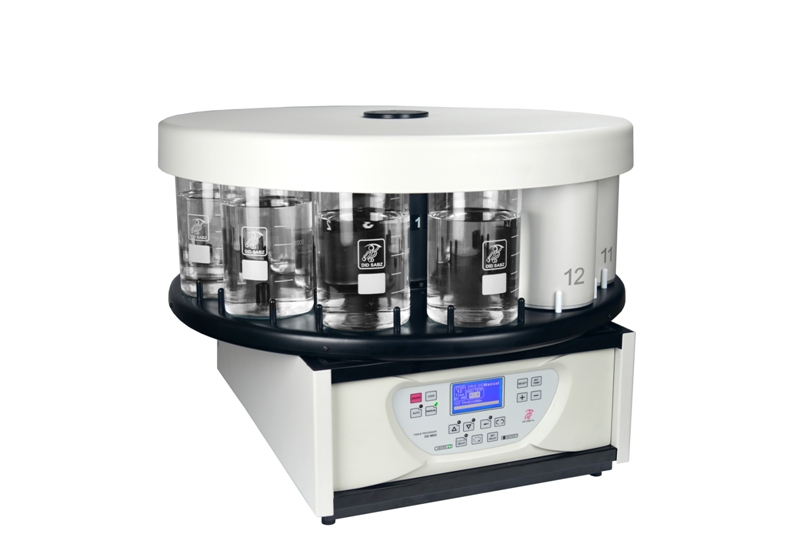
Did Sabz Tissue Processor used for Tissue preparation
3-Dehydration and agitation with paraffin
This step will be done with a machine called Tissue Processor, which consists of twelve containers containing different solutions. These solutions have 3 main functions:
- Dehydrating the tissue
- Clarifying and cleaning tissue
- Agitating tissue with paraffin
The total volume of each container is 1 liter and their order is as follows:
Containers 1 and 2 contain 10% formalin. The tissue sample remains in formalin for 3 hours. If the tissues remain more than this time in Formalin container no problem occurs.
In some cases, distilled water is used instead of formalin in container number 2. The duration of remaining the sample in distilled water is one hour. The third to sixth containers contain alcohol (methanol), container number 3 contains 70% alcohol, container number 4 contains 80% alcohol, container number 5 contains 90% alcohol and container number 6 contains 96% alcohol.
The alcohol purity rate increases from one container to another to make dehydration take place slowly.
The sample time in each of these alcohols is one hour. In general, ethanol absorbs water better than methanol, but due to the higher cost of ethanol, methanol is used instead.
Methanol also has decolorizing properties. This step is very important and if dehydration is not done well, the next steps will be damaged and will cause the tissues shrinkage.
Containters number 7 ,8:
They Contain 100% absolute methanol, which takes a total time of 4 hours for dehydrating the sample. Containers 9 and 10 contain xylene , clear the tissue and removing alcohol from them. Containers 11 and 12 contain paraffin.
Paraffin is solid at laboratory temperature and must reach a melting point (about 60 ° C) to melt
For this purpose, the last two containers have an element that generates heat in the container and melts the paraffin. when the samples are placed in molten paraffin, the Molten paraffin penetrates into the tissues and the tissue becomes impregnated and saturated, and the paraffin penetrates completely into the tissue then the tissue becomes hard at laboratory temperature and can be cut by a microtome.
It should be noted that the agitating material must be the same as the embedding one. Tissue processor has buttons for setting the time, turning on and off, and moving the sample baskets up and down and also lights to ensure the machine is on. There are also buttons for setting the program and setting the operating time of the device, which usually takes about 18 hours to complete a cycle.
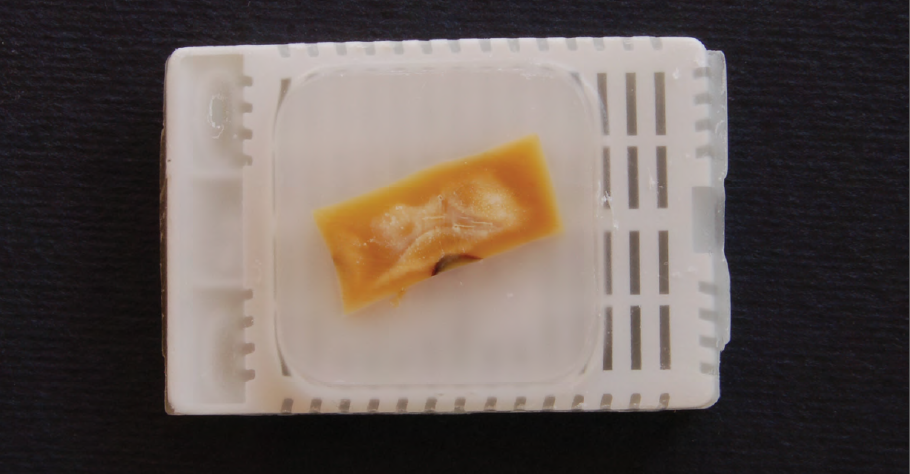
4-Tissue embedding
For tissue embedding, paraffin should be melted at 60 ° C in a paraffin melting machine or tissue embedding and, if necessary, some wax in a ratio of 1 to 10 should be added to it. Wax is used for better embedding . Molds will become very brittle if only paraffin is used.
For tissue embedding, the dehydrated samples should be placed in an embedding container with forceps, molten paraffin poured on it, and after a few minutes, the sample numbers should be placed on them.
This is called tissue blocking or tissue embedding and requires careful attention. To complete this stage, the tissue blocks are placed in the freezer or refrigerator until the sectioning stage get starts.
5-sectioning with Microtome
To do this stage, it requires several separate devices, which include: Microtome, Tissue Float, reading lamp and diamond pen.
-
Microtome
This machine has the ability for sectioning tissue in various thicknesses. The Microtome generally has two parts, the outer part and the inner one. By rotating the handwheel, you can get sections with a thickness of 1 to 100 microns and even higher.
The outer part of the device includes a rotating handwheel, block clamp (sample clamp), block angle adjusting screw, Microtome blade holder ,Microtome blade angle adjusting screw, micrometer degree and Microtome blade or handwheel. There is a bar on the handwheel that can be used to lock the handle , thus it will reduce the chance of damage to the hand or block
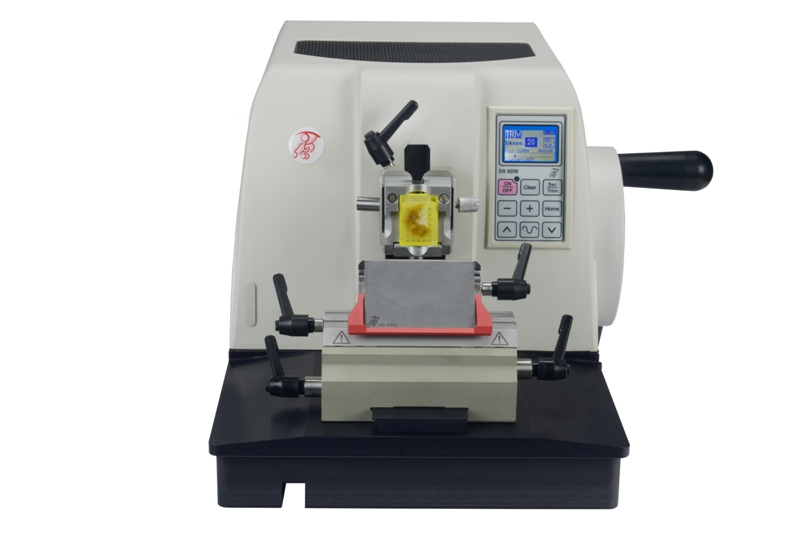
Didsabz Microtome for tissue sectioning
-
Tissue Float
Tissue Float has a glass container in which water is poured. The water in the container is heated. By using the control switch, the water temperature is adjusted as desired, which depends on the paraffin around the sample. In fact, this device is used to remove wrinkles from tissue sections.

Float the sections into the Tissue Float
-
Reading Light
This device surrounds the Microtome and the Tissue Float, and its proper light prevents excessive eye fatigue.
-
Diamond pen
As it name implies, it is used for writing. The tip of the pen must be made of diamond so that it can engrave the number of specimens on a slide made of glass.